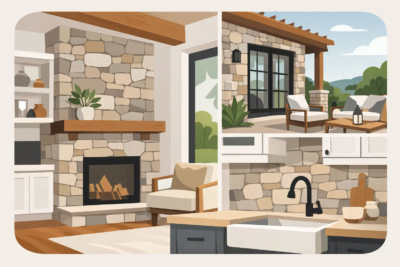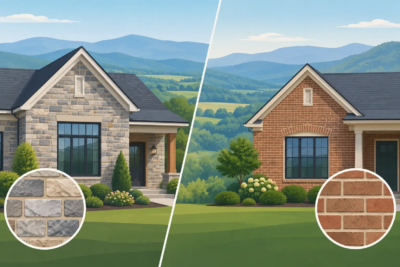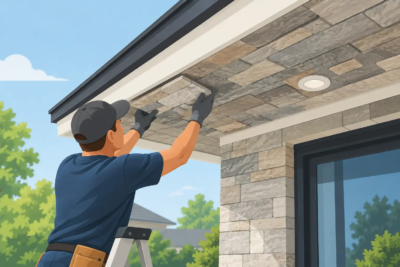

A stone veneer project can look straightforward from the driveway, but the material takeoff happens one measurement at a time. Knowing how to measure veneer coverage before selecting a profile helps you budget accurately, compare options fairly, and avoid the frustration of pausing a chimney, façade, or accent wall because material ran short.
For most projects, the starting point is simple: measure the surface area in square feet. The details matter because stone veneer is often installed around windows, doors, corners, changes in elevation, and finishing pieces. A clean measurement plan gives your project the foundation it deserves.
How to Measure Veneer Coverage in Square Feet
Start by breaking the project into simple rectangles. Measure each wall section’s width and height in feet, then multiply them.
Width × height = square footage
For example, a 20-foot-wide wall that is 8 feet high has 160 square feet of gross wall area. If the project includes several sections, calculate each one separately and add them together. This approach is more reliable than trying to estimate an entire front elevation at once, especially when rooflines, bump-outs, or foundation transitions change the shape of the surface.
For a triangular gable section, use this formula:
Base width × height ÷ 2 = square footage
A gable that is 12 feet wide and 6 feet tall equals 36 square feet. Add that figure to the rectangular wall area below it.
Measure from the intended starting point to the intended stopping point. On an exterior façade, that may mean from grade to the soffit, from a corner to a window return, or from a foundation ledge to the siding above. On an interior fireplace wall, it may be the full wall, the surround only, or the area from the hearth to the mantel. The finished design should guide the measurement, not just the largest available wall surface.
Subtract Windows, Doors, and Other Openings
Once you have the gross square footage, measure openings that will not receive veneer. Multiply the width and height of each window, door, vent, or pass-through, then subtract those areas from the gross total.
A 3-by-5-foot window removes 15 square feet from the wall calculation. A 3-by-7-foot door removes 21 square feet. If a 160-square-foot wall includes both, the net flat veneer area is 124 square feet.
There is one practical exception: do not spend time subtracting every small electrical box, hose bib, or minor penetration. Those areas are typically balanced by cuts, breakage, and fitting material around edges. Focus on meaningful openings, particularly windows, doors, large vents, and garage openings.
Remember that window and door openings may still need stone around their perimeter. If the design includes wrapped returns, a stone sill, an arch, or a substantial trim detail, those components should be measured separately. The face of an opening reduces your flat coverage, but its edges can add material back into the plan.
Measure returns when stone wraps an opening
A return is the exposed side surface between the front face of the wall and the window or door frame. Measure the depth of that return and multiply it by the height or width of each side where veneer will be installed. A deep-set window can add more coverage than homeowners expect, particularly on a masonry-style façade with several openings.
This is also where a quick sketch becomes valuable. Write each opening’s width, height, and return depth directly on the drawing. A photo with measurements marked on it works well for smaller renovation projects.
Measure Corners in Linear Feet, Not Square Feet
Flat stone veneer and corner pieces are commonly ordered in different units. Flats cover square footage, while corner pieces are generally measured in linear feet. Count every outside corner where the stone turns from one wall face to another, then measure its full height.
Corner height in feet = linear feet of corner material needed
If a chimney has four outside corners and each is 18 feet tall, the project has 72 linear feet of outside corners. A low foundation with two 3-foot-tall outside corners has 6 linear feet.
Inside corners are handled differently depending on the profile, installation method, and design. Many projects use flat pieces that are cut and fitted at inside corners, while some layouts call for a specific corner treatment. Record them on your sketch and include them in the estimate conversation.
Do not assume that a linear foot of corner material converts to the same square footage for every stone profile. Corner coverage varies with the depth and shape of the stone, as well as the length of its returns. Your veneer supplier can confirm the applicable conversion and adjust the flat material quantity accordingly.
Measuring Chimneys, Columns, and Other Wrapped Features
Features with multiple visible sides need a full perimeter measurement. For a rectangular chimney, measure each exposed side and multiply by its height, or add the width of all four sides to find the perimeter and multiply that by the height.
Perimeter × height = gross veneer coverage
A chimney measuring 4 feet by 3 feet has a perimeter of 14 feet. At 20 feet high, its gross surface area is 280 square feet before subtracting any openings or sections that will not receive stone. Then measure the outside corners in linear feet.
For columns, measure all sides that remain visible after installation. A square porch column often has four outside corners, but an attached pilaster or half-column may only have two. If the column will receive a cap, measure and specify that piece separately. Veneer coverage does not include column caps, wall caps, hearthstones, sills, or keystones.
Curved walls deserve special care. Measure the curve along its face with a flexible tape or a string, then measure the height. The product of those two dimensions gives you the face area. Curves, arches, and radiused corners typically create more cutting and fitting than straight walls, so they usually warrant a larger waste allowance.
Add a Realistic Waste Allowance
A perfect square wall with a straightforward running pattern may need only a modest overage. Most real projects are not perfect squares. Stone needs to be trimmed around openings, blended for natural variation, and selected for the best visual fit at corners and transitions.
For a simple wall with few openings, a 5% to 10% overage is often reasonable. Consider 10% to 15% when the layout includes multiple windows, doors, deep returns, tight spaces, arches, diagonal cuts, or several stone colors and sizes that must be blended carefully. A small repair reserve is also worthwhile, particularly when matching material later may be difficult.
Waste is not poor planning. It is part of producing a balanced, natural-looking installation rather than forcing every piece into place. The right allowance gives the mason room to maintain consistent joints, avoid repetitive shapes, and make the stone look intentional from every angle.
Keep Finishing Pieces Separate From Veneer Coverage
Stone veneer coverage is only one part of the material plan. Caps, hearths, sills, address stones, wall toppers, and architectural keystones should be listed separately by quantity and dimension. The same is true of mortar, lath, weather-resistive barrier, flashing, and other installation materials.
A coordinated finish can make a chimney, entry wall, or foundation upgrade feel designed for the home rather than added afterward. That is why it helps to decide early where your stone ends, how it meets siding or trim, and whether a cap or accent piece will complete the transition.
Create a Measurement Sheet Before Requesting an Estimate
The clearest estimates begin with a simple project record. Include the net square footage of each wall, linear feet of outside corners, dimensions of openings and returns, and separate quantities for caps or specialty pieces. Label each area by location, such as “front entry left wall,” “garage foundation,” or “fireplace surround.”
Photos taken straight on and from wider angles add useful context. They show changes in plane, roof intersections, existing trim, and other conditions that numbers alone may miss. For Shenandoah Valley homes, this is especially helpful when stone is being added to a mix of siding, brick, board-and-batten, or traditional porch details.
Grizzly Stone can use those measurements and photos to help align the selected profile, corner requirements, and finishing components with the design you have in mind. A final field check by the installer remains wise before material is ordered, especially for new construction or surfaces that have not yet been framed, flashed, or finished.
A well-measured stone project does more than prevent overordering. It gives you the confidence to choose the façade, chimney, column, or accent wall that will make your home feel more complete – and gives every finished edge the attention it deserves.